|
Are you searching for a gorgeous way to add flair to your look? Nail art can complement your outfit for a special event or add a unique touch to your everyday appearance. Here are a few easy tips to make that very simple nail art at home.
Prepare Your Nails:
- Remove old polish.
- Trim and shape your nails so that they are uniform and neat Don�t trim the nails too short so that u would have more space to work with.
- Apply one layer of base coat and allow it to completely dry before proceeding. Base coats are usually clear or bluish in color, and can be purchased wherever nail polish is sold. They protect your nails from getting stained or damaged by paint and other nail art materials.
Picking the Right Shade:
Even though it�s a personal choice, one should be careful of certain colors that will make your hands and feet look darker. Go for those colors that enhance your complexion.
Applying the Nail Polish:
Nail lacquers should be applied in 3 strokes without overlapping with each other. Start with one base coat, let it dry and then apply two more coats. Finish off with a top coat of a natural nail shine.
Nail Art a Home:
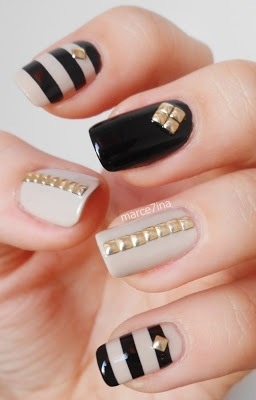
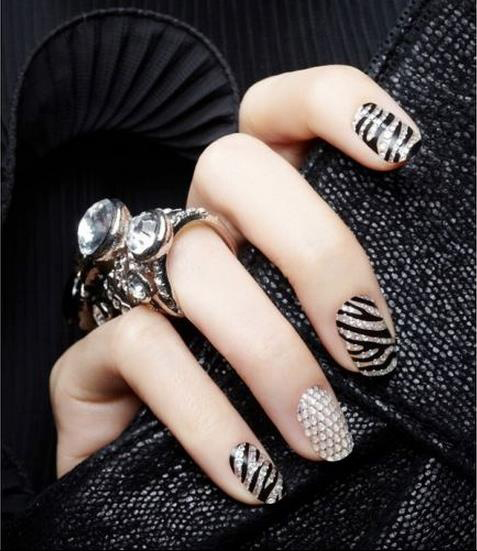
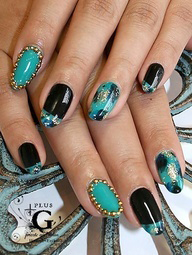
- Crystals: Coat your nails and stick tiny stones or crystals on it, while it�s still wet.
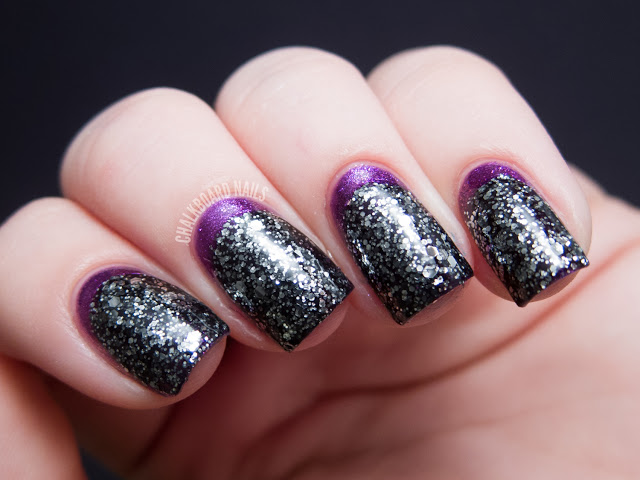
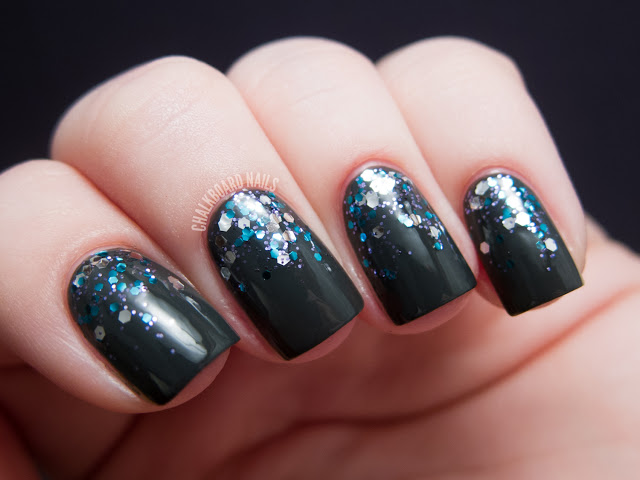
- Funky Glitter: Mix loose glitter with nail gel or clear polish and apply it to your nails. Once dry apply a transparent nail enamel on the top and there you have that sparkle! it goes well with any party attire.
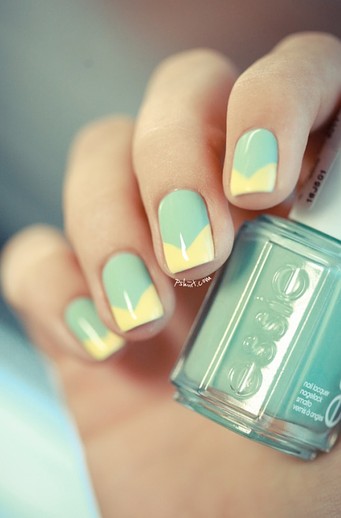
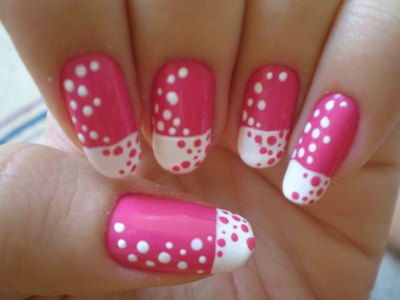
- French Tips: Set a French manicure sticker across your nail, leaving the tip exposed; apply a base coat. Remove the sticker while it�s still wet, let it dry and finish off with a neutral nail varnish.
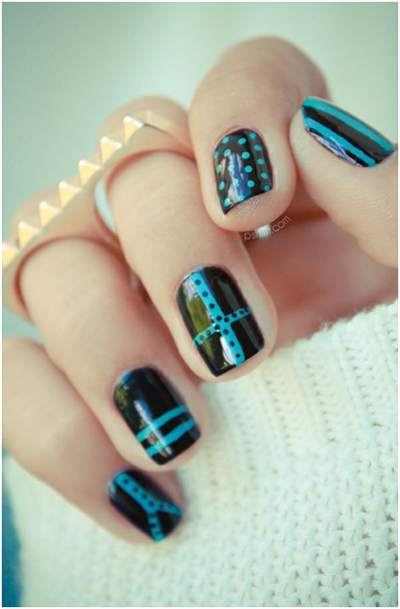
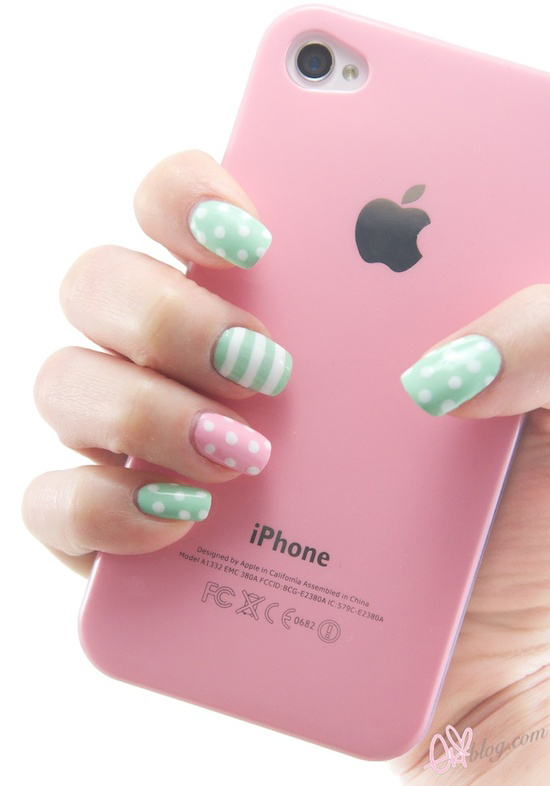
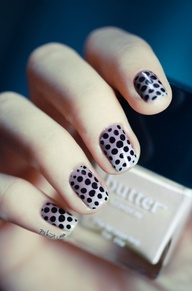
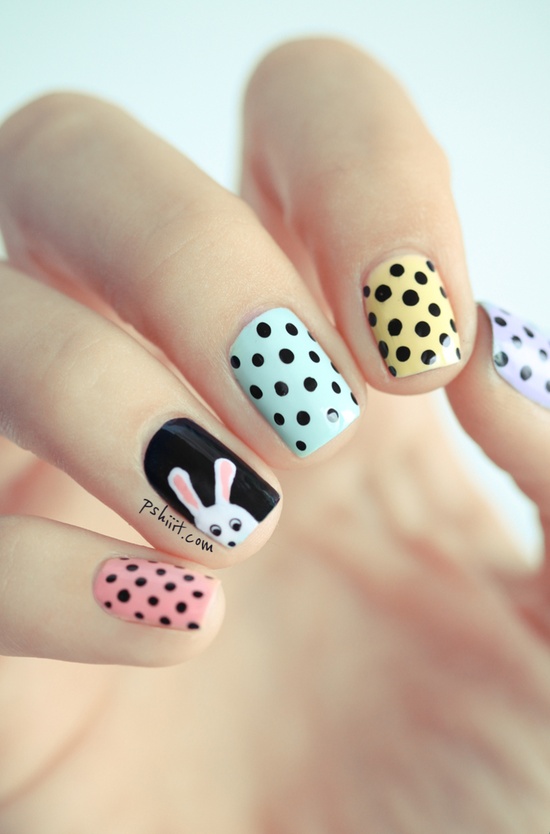
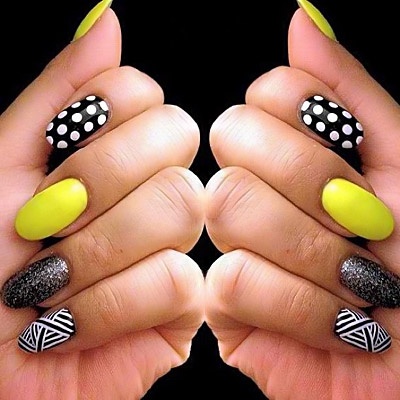
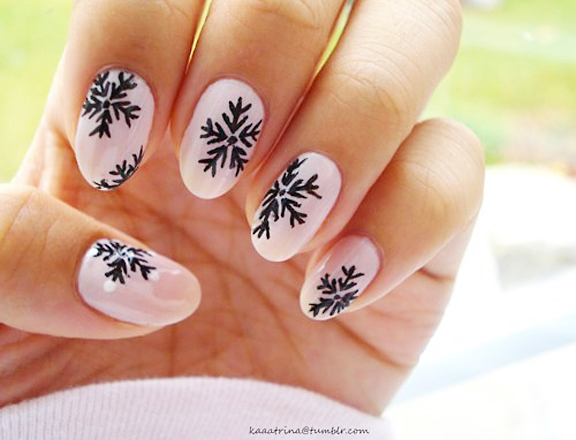
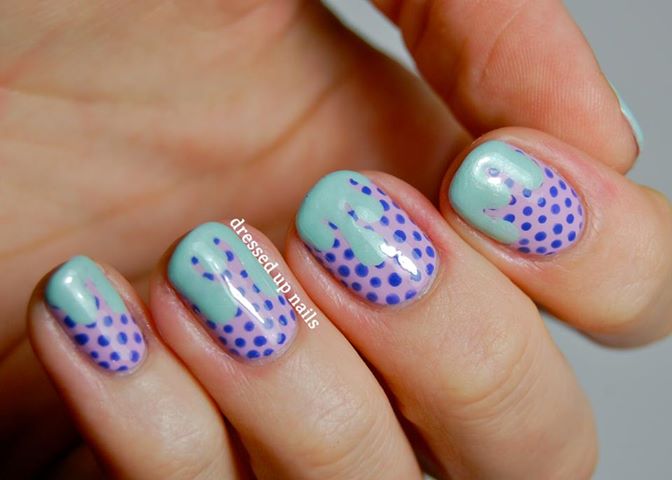
- Polka Dots: Polka dots are simple and versatile. On a base coat of nail paint, make dots using a contrasting color so that it is visible.
- Beaded Nails: Get nails beads from the market. They are available in various shapes, sizes and colors. Apply the base coat with whichever color you want and once it's dry stick the beads making your own pattern of flowers, stars or random designs. Don't forget to cover it up with transparent enamel as this helps in preventing the beads form falling off.
- Newspaper Print: Apply a base coat of grey nail paint. Dip your fingers in the rubbing alcohol for about 30 sec and then press a piece of newspaper on the nail till its print comes on the nail. Let it dry for a few minutes and cover with the transparent enamel and it's done!
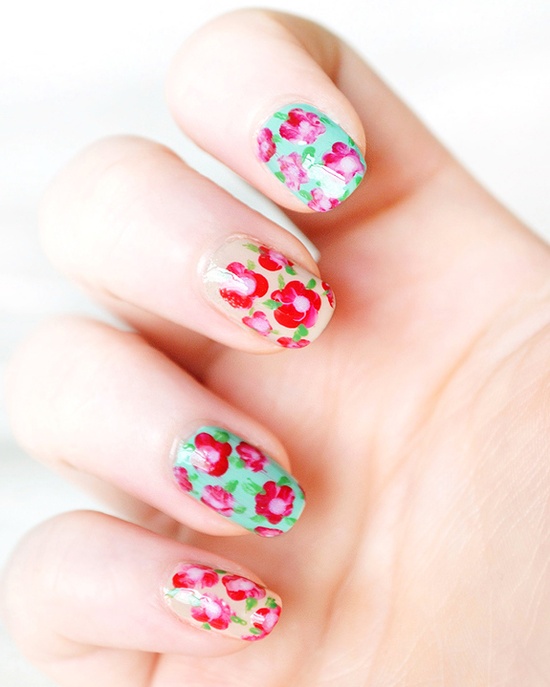
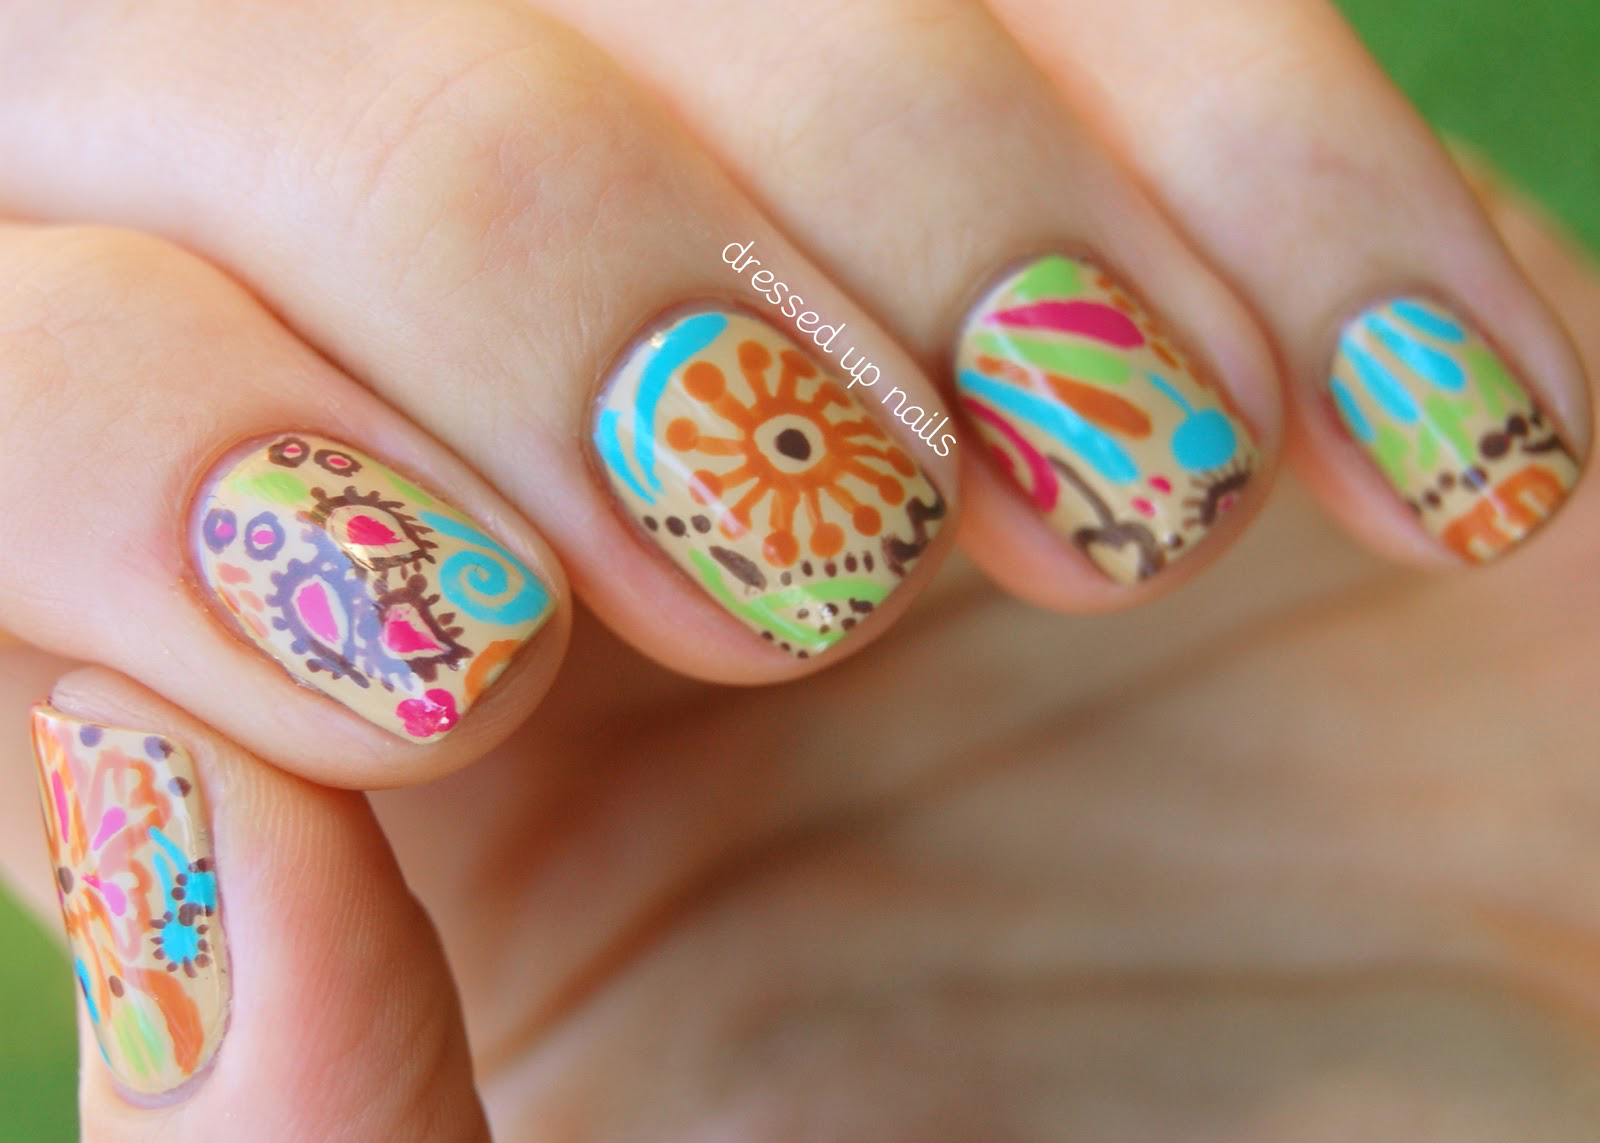
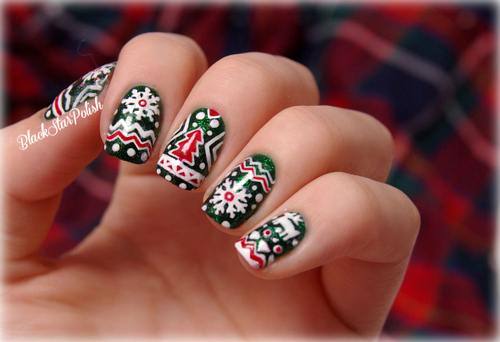
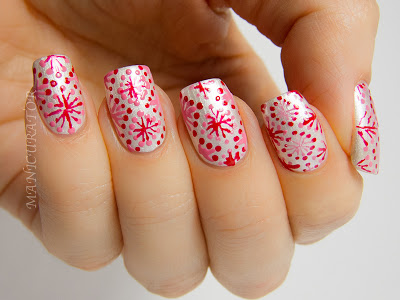
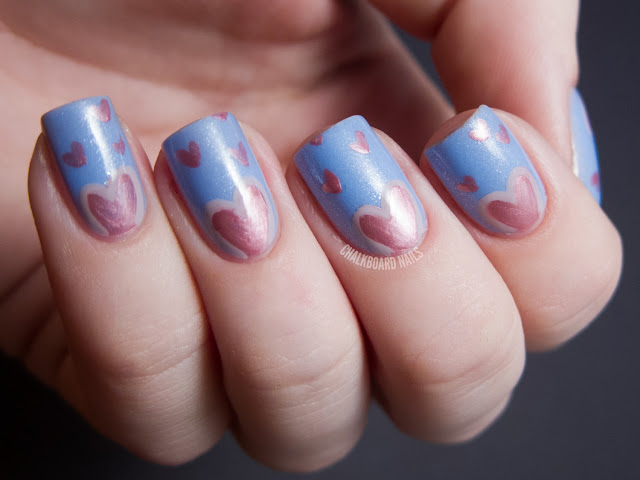
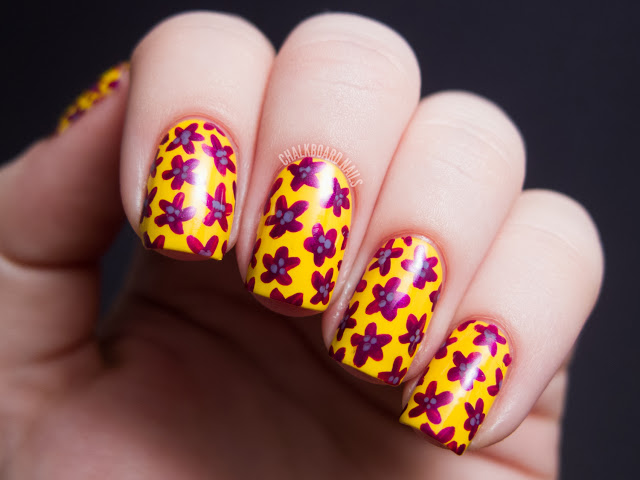
- Floral Design: Apply the base coat color. Once its dry, use a thin-tipped brush or toothpick to place groups of five dots arranged in circles on your nails. These are the petals. Once the petal dots are dry, use their color to paint a simple circle in the center of the petal dots. You can add extra detail by placing a tiny white stripe in the center of the petals, or creating leaves with green nail polish. When the flower designs are dry, apply a clear top coat.
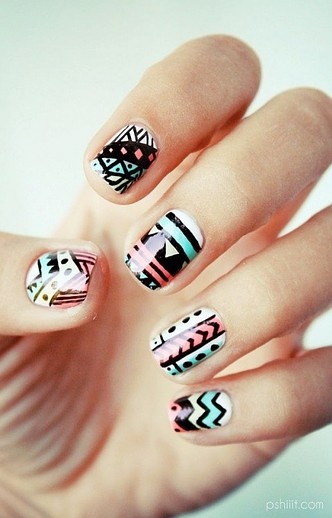
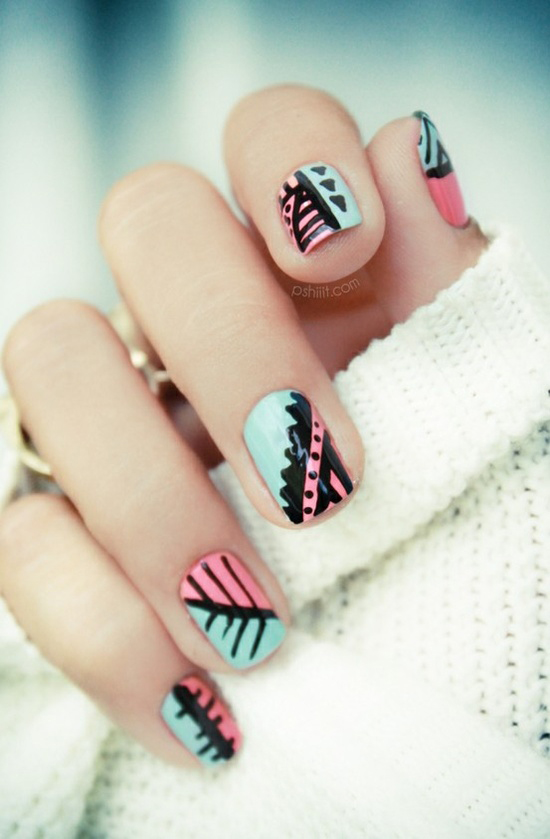
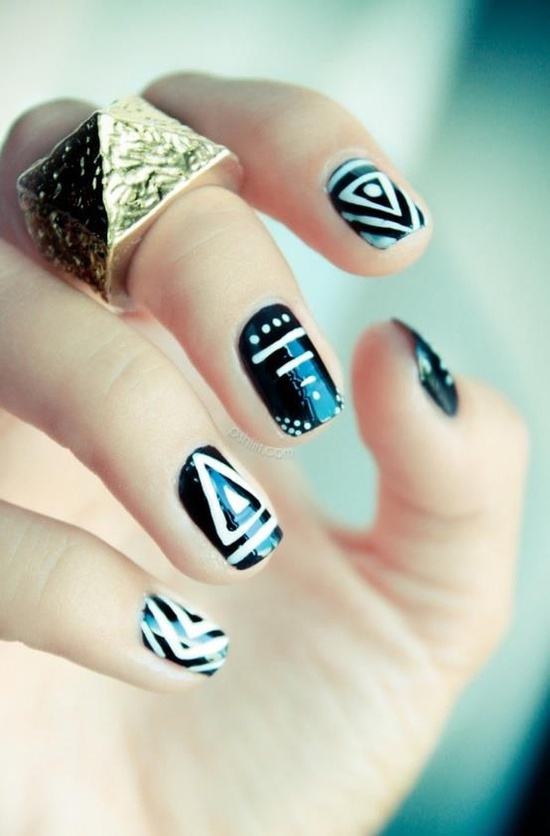
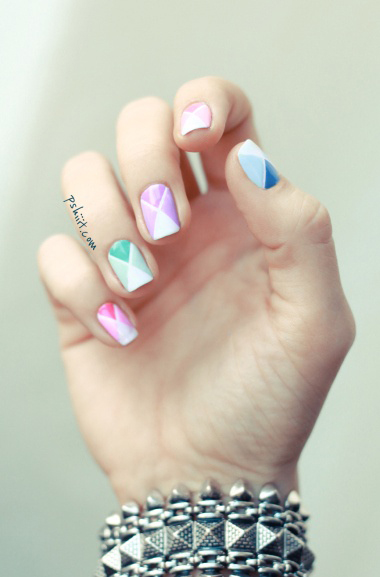
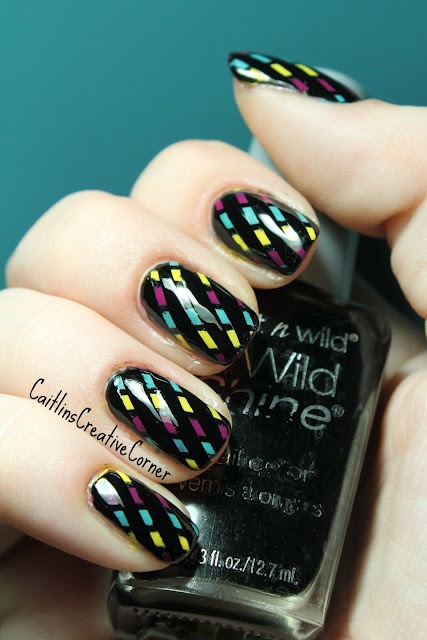
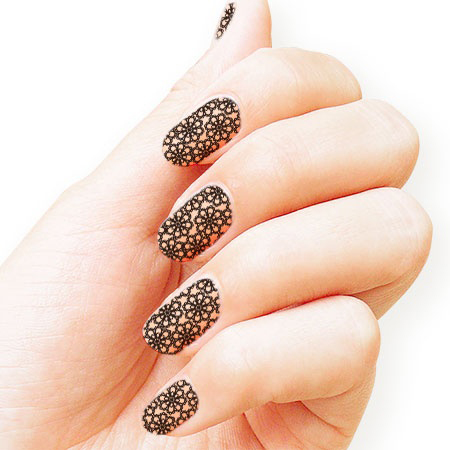
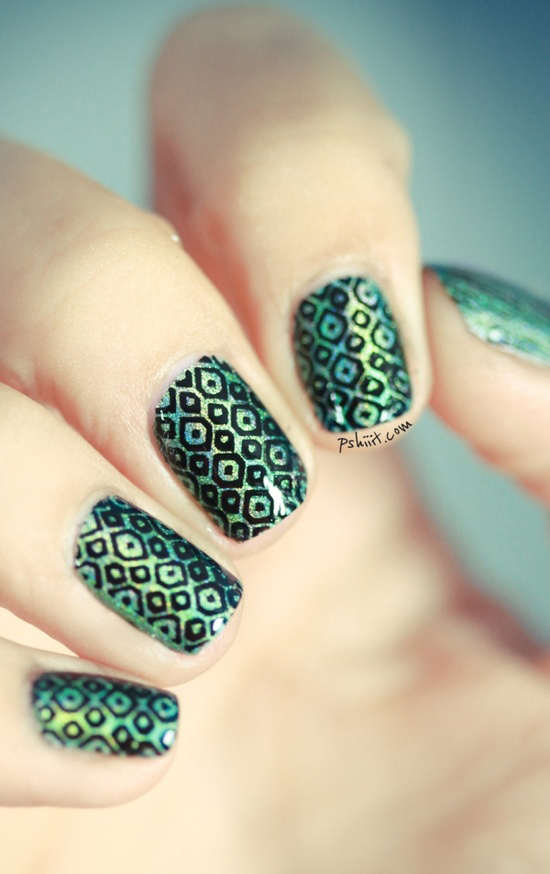
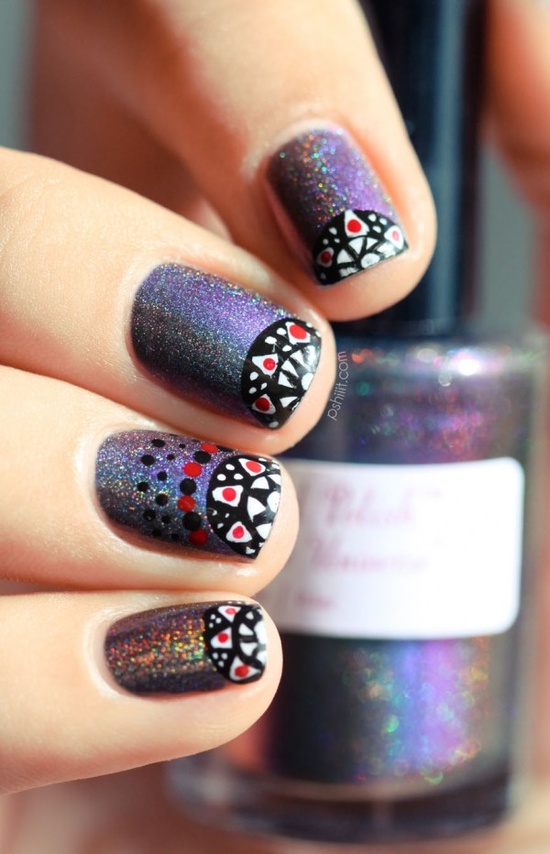
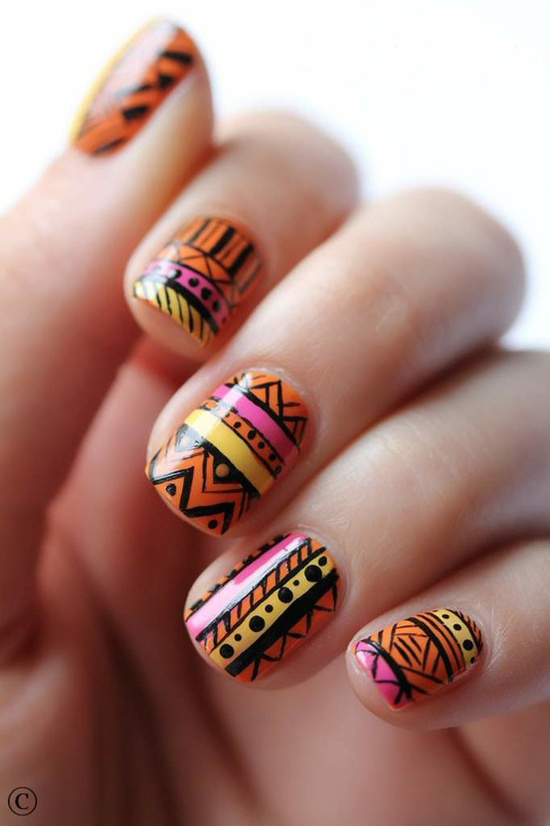
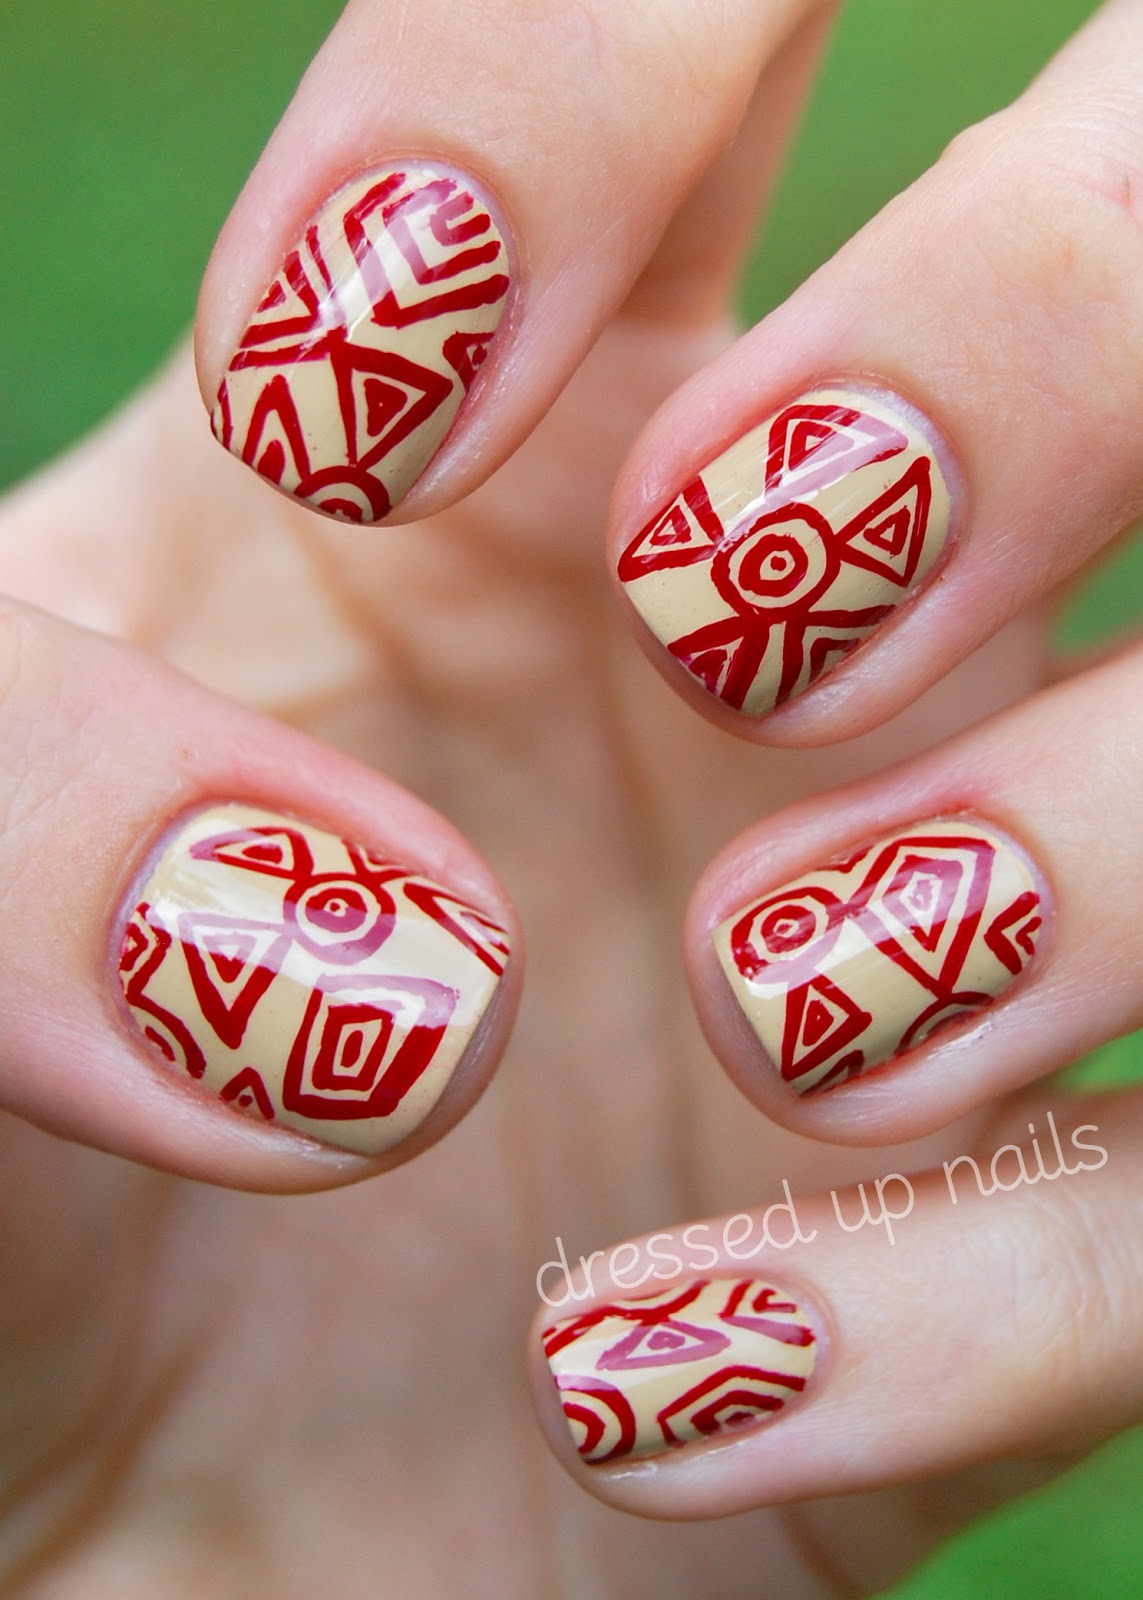
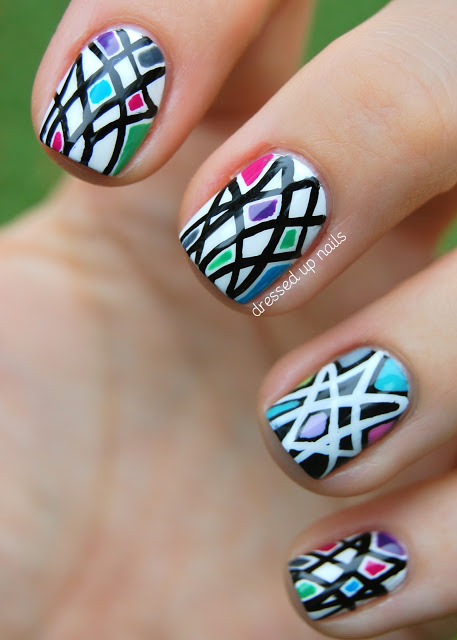
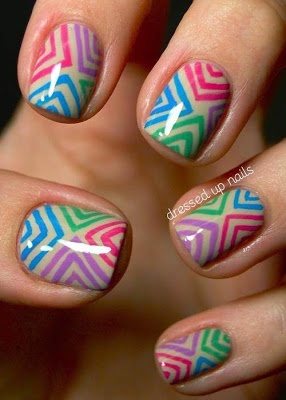
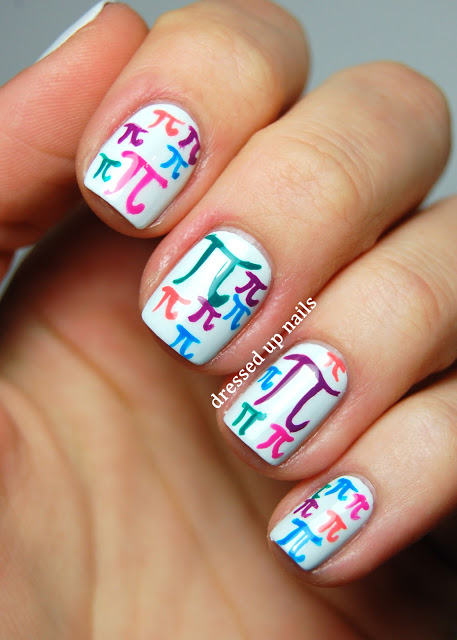
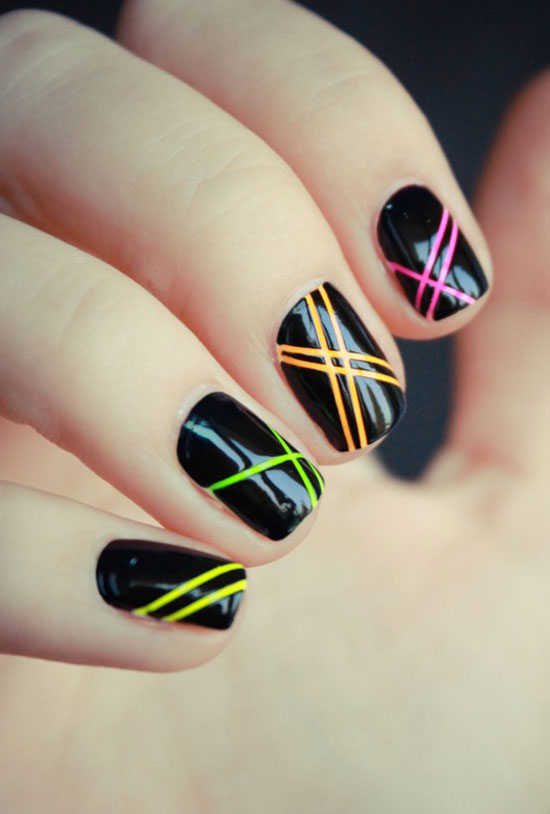
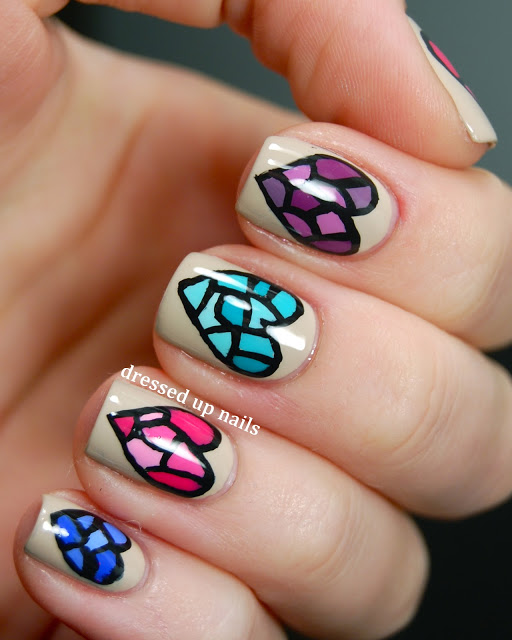
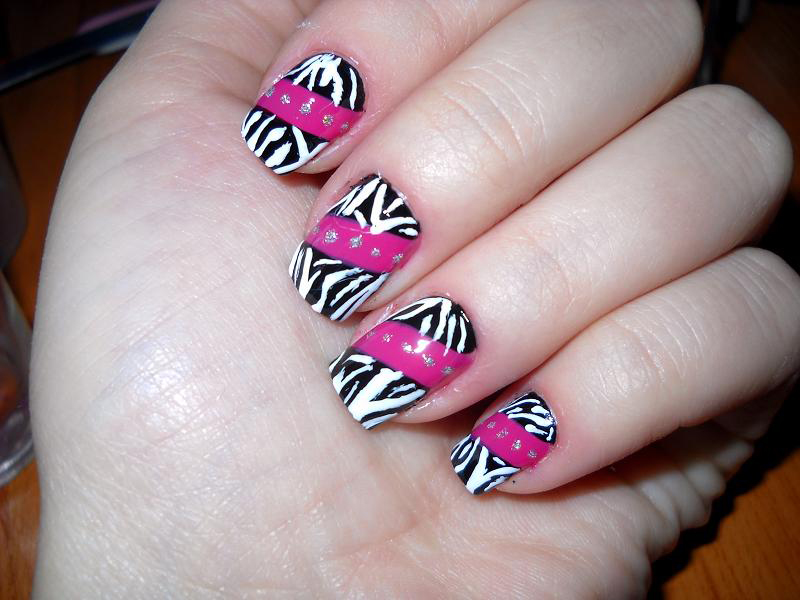
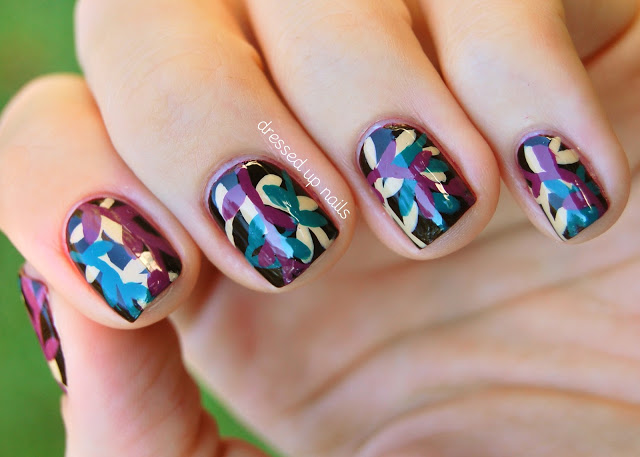
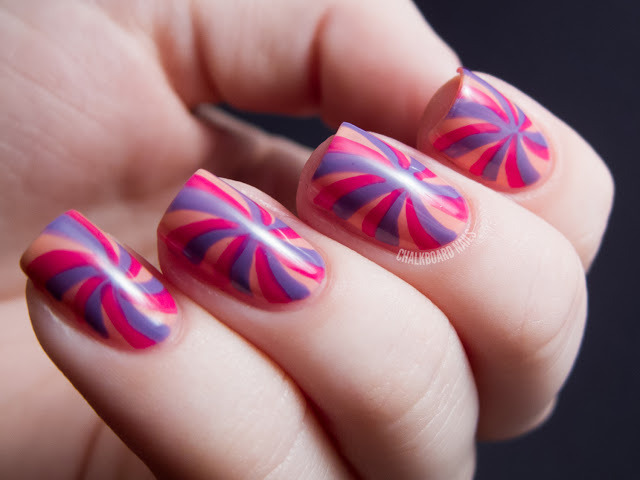
The current trend in the nail art is all about Swarovski crystals, metallic colors, glitters and other abstract patterns.
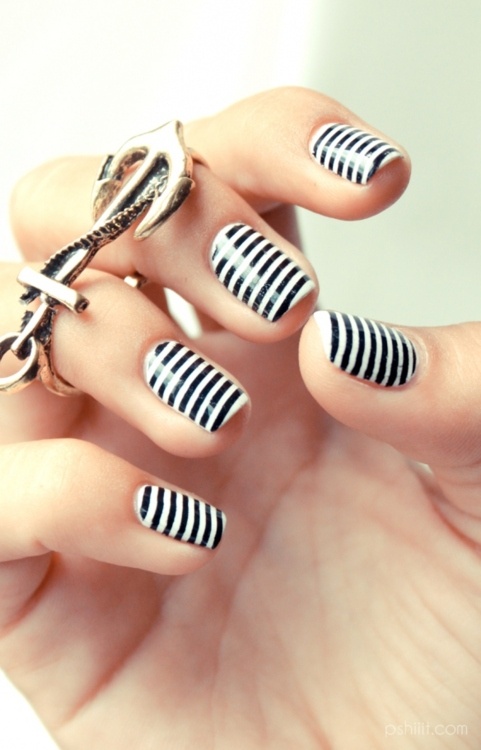
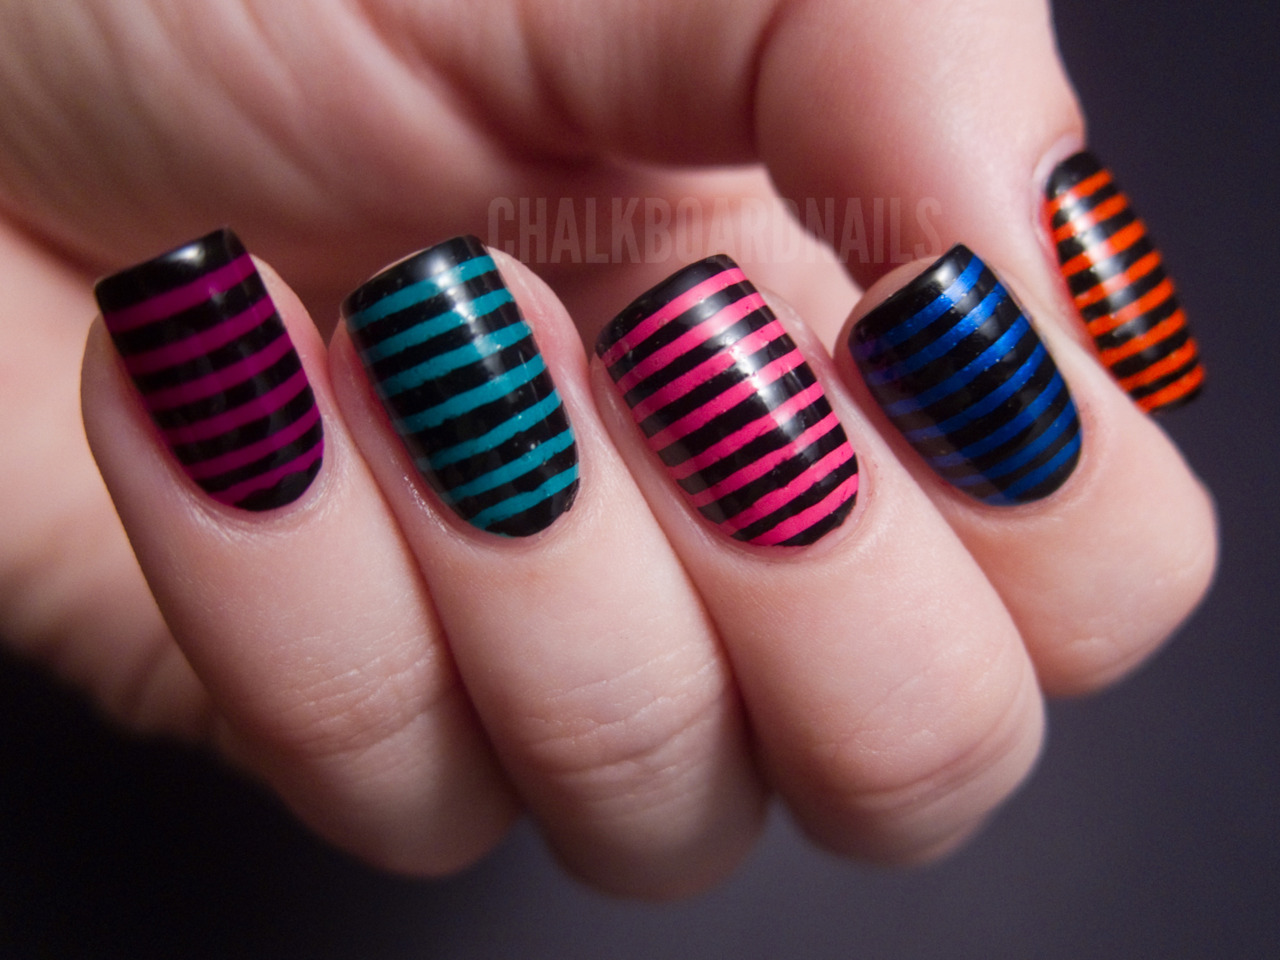
Nail Art Gallery


|